Part 7: Professional Git Workflow
A Practical Tutorial for Beginners to Advanced Users
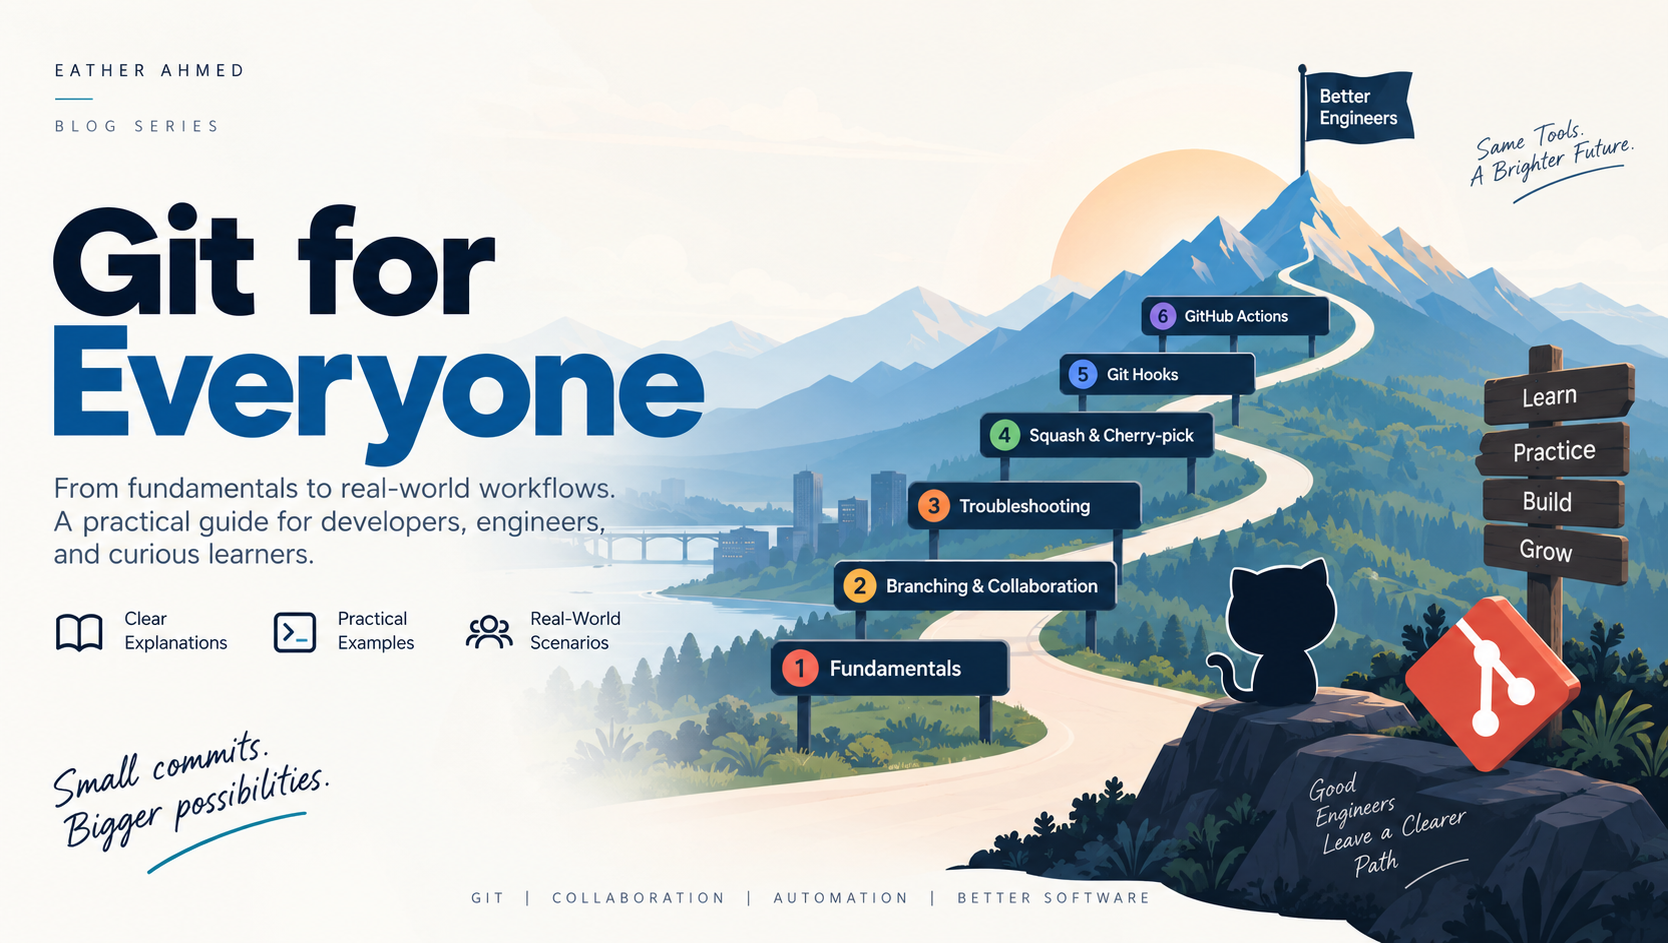
In the previous articles, we learned about Git fundamentals, branches, conflicts, squash, cherry-pick, Git Hooks, and GitHub Actions.
Now it's time to put everything together.
Knowing Git commands is one thing.
Knowing how to use Git properly in a professional engineering team is another.
A professional Git workflow is not about memorizing more commands.
It's about creating a process that makes collaboration:
Safe
Predictable
Reviewable
Traceable
Easy to maintain
Why Do We Need a Git Workflow?
Imagine a team where everyone works directly on main.
Developer A → main
Developer B → main
Developer C → main
Developer D → main
Sooner or later, someone will introduce a problem.
Someone may:
Break an existing feature
Commit unfinished code
Overwrite another developer's changes
Push directly to production-related branches
Create confusing commit history
A professional workflow creates rules around how changes move from development to production.
A simple model is:
Developer
    ↓
Feature Branch
    ↓
Pull Request
    ↓
Code Review
    ↓
CI/CD
    ↓
Merge
    ↓
Deploy
This is much safer than everyone pushing directly to main.
Step 1: Keep main Stable
The main branch should generally represent a stable version of the application.
Instead of developing directly on main:
git switch main
and modifying code there, create a separate branch.
For example:
git switch -c feature/user-login
Now your work is isolated.
main
  │
  ├── feature/user-login
  │
  ├── feature/payment
  │
  └── fix/session-timeout
Each branch can evolve independently.
Step 2: Use Meaningful Branch Names
Avoid names like:
test
abc
new
mybranch
temp
Instead, use names that explain the purpose.
feature/user-login
feature/payment-api
fix/session-timeout
fix/database-connection
refactor/authentication
docs/api-documentation
A good branch name gives context before someone even opens the branch.
Step 3: Make Small, Logical Commits
A common beginner mistake is creating one huge commit.
For example:
update everything
Inside that commit might be:
Login changes
Database changes
CSS changes
Bug fixes
Documentation
Configuration
This makes reviewing and troubleshooting difficult.
Instead, create logical commits.
feat: add login API
test: add login API tests
docs: update authentication documentation
fix: handle invalid login response
Each commit should ideally represent one logical change.
Step 4: Write Useful Commit Messages
Compare:
update
with:
fix: prevent duplicate payment requests
The second message immediately tells us what changed.
A useful commit message should answer:
What did I change?
For example:
feat: add user authentication
fix: handle expired sessions
refactor: simplify payment validation
docs: update deployment guide
This becomes extremely valuable when investigating production problems months later.
Step 5: Keep Your Branch Updated
Suppose you created a feature branch yesterday.
Meanwhile, other developers have merged several changes into main.
main
A ── B ── C ── D

feature
A ── B ── X ── Y
Your branch is now behind the latest main.
Before creating a Pull Request, you should understand how your changes interact with the latest code.
You can update your local repository with:
git fetch origin
Then inspect the changes.
git log --oneline main
Depending on your team's workflow, you may update your feature branch using merge or rebase.
The important principle is:
Don't develop for days without checking how your work interacts with the team's latest changes.
Step 6: Push the Feature Branch
Once your work is ready:
git push -u origin feature/user-login
Now GitHub contains your branch.
Local
  ↓
Feature Branch
  ↓
GitHub
You can then create a Pull Request.
Step 7: Create a Pull Request
A Pull Request is a request to merge your changes into another branch.
For example:
feature/user-login
        ↓
    Pull Request
        ↓
       main
The Pull Request gives the team an opportunity to review the change before it becomes part of the shared codebase.
A good Pull Request should explain:
What changed?
Why was it changed?
How was it tested?
For example:
Title:
Add user login API

Changes:
- Added login endpoint
- Added authentication validation
- Added error handling

Testing:
- Unit tests passed
- API tested locally
Step 8: Let CI Validate the Change
Once the Pull Request is created, GitHub Actions can automatically validate it.
Pull Request
      ↓
GitHub Actions
      ↓
Lint
      ↓
Unit Tests
      ↓
Integration Tests
      ↓
Security Scan
      ↓
Build
If something fails, the developer can fix it before merging.
This is one of the biggest advantages of modern Git workflows.
The Pull Request becomes more than a code-review mechanism.
It becomes a quality gate.
Step 9: Code Review
Another developer or technical lead reviews the Pull Request.
The reviewer might check:
Correctness
Security
Maintainability
Performance
Test coverage
Error handling
Coding standards
Architecture
The goal is not:
"Find mistakes in someone's code."
The goal is:
"Improve the quality of the software together."
That's an important engineering mindset.
Step 10: Merge
Once the Pull Request is approved and CI passes, the changes can be merged.
For example:
feature/user-login
        ↓
Pull Request
        ↓
Review
        ↓
CI PASS
        ↓
Merge
        ↓
main
Depending on the team's strategy, you might use:
Merge commit
Squash merge
Rebase merge
We already discussed Squash in Part 4.
The important thing is that the team should have a consistent policy rather than everyone choosing randomly.
Step 11: Delete the Feature Branch
After merging, the feature branch usually no longer has a purpose.
The remote branch can be deleted through GitHub.
The local branch can be removed with:
git branch -d feature/user-login
This keeps the repository clean.
A Complete Professional Workflow
Now let's connect everything.
                  Developer
                      ↓
                Create Branch
                      ↓
                Write Code
                      ↓
               Small Commits
                      ↓
                 Git Hooks
                      ↓
                  git push
                      ↓
                Pull Request
                      ↓
              GitHub Actions
                      ↓
        ┌─────────────┼─────────────┐
        ↓             ↓             ↓
      Tests          Build       Security
        └─────────────┼─────────────┘
                      ↓
                 Code Review
                      ↓
                    Merge
                      ↓
                     main
                      ↓
                   Deploy
                      ↓
                 Monitoring
This is no longer just a Git workflow.
It's a software delivery workflow.
What About Emergency Production Fixes?
Sometimes production has a serious problem.
You may not have time to wait for a normal feature-development cycle.
For example:
Production
    ↓
Payment failure
    ↓
Create hotfix branch
    ↓
Fix problem
    ↓
Test
    ↓
Review
    ↓
Deploy
A branch might be:
hotfix/payment-timeout
Even during an emergency, avoid bypassing all safety mechanisms unless there is a clearly defined emergency process.
Fast does not have to mean careless.
Git Workflow Is Not One-Size-Fits-All
You may hear names such as:
Git Flow
GitHub Flow
Trunk-Based Development
These are different approaches to organizing development.
For a small web application, a simple workflow might be enough:
main
 ↓
feature branch
 ↓
Pull Request
 ↓
CI
 ↓
Review
 ↓
Merge
A large enterprise organization may require additional branches, release management, approvals, environments, and deployment controls.
The important lesson is:
Choose a workflow based on the team's needs, not because a particular workflow is fashionable.
What Should a System Engineer Think About?
This is where Git starts connecting directly with system engineering.
Don't think only:
"Which Git command should I use?"
Think:
Who can push?
       ↓
Who can merge?
       ↓
What requires review?
       ↓
What automated checks run?
       ↓
How is production protected?
       ↓
How do we rollback?
       ↓
How do we investigate failures?
These are system and process-design questions.
For example, protecting main with branch rules is not simply a Git configuration.
It's a risk-control mechanism.
A Good Engineering Rule
A useful principle is:
Make the safe path the easiest path.
If developers have to perform 15 manual steps to safely deploy software, eventually someone will try to bypass the process.
Instead:
Developer
    ↓
Push
    ↓
Automated Validation
    ↓
Review
    ↓
Automated Deployment
The correct process should also be the convenient process.
Git as Part of a Larger System
Look at the complete picture:
Git
 ↓
Version Control

GitHub
 ↓
Collaboration

Git Hooks
 ↓
Local Automation

GitHub Actions
 ↓
CI/CD

Cloud
 ↓
Infrastructure

Monitoring
 ↓
Observability

Incident Management
 ↓
Reliability
Each technology solves a different part of the software delivery problem.
A professional system engineer understands how these pieces connect.
Final Thought
When you first learn Git, it feels like a collection of commands:
git add
git commit
git push
git pull
git merge
git branch
But professional Git usage is much bigger than commands.
It's about designing a development process where:
Changes are isolated
        ↓
Changes are reviewed
        ↓
Changes are tested
        ↓
Changes are traceable
        ↓
Changes are safely delivered
That's the real transition from "I know Git" to:
"I understand how professional engineering teams use Git."
And that mindset will become increasingly important as we move deeper into DevOps, Cloud Engineering, CI/CD, Kubernetes, Infrastructure as Code, and System Design.